How to Explain Braces to a Child: A Parent’s Guide
July 16, 2026
How to Explain Braces to a Child: A Parent’s Guide
TL;DR:
- Braces help move teeth into better alignment, improving bite function and long-term oral health. Explaining the process honestly and using simple analogies encourages cooperation and eases anxiety. Regular progress photos and small choices motivate children throughout their treatment.
Braces are orthodontic devices that gradually move teeth into better alignment, improving both bite function and long-term oral health. Knowing how to explain braces to a child clearly and calmly makes a real difference in how your child responds to treatment. The American Association of Orthodontists recommends an initial evaluation by age 7, when early skeletal or bite issues can be identified before they worsen. Phase 1 treatment addresses jaw-level problems in children aged 7–10, while Phase 2 typically begins between ages 11 and 14. Getting the conversation right from the start sets the tone for the entire treatment experience.
How to explain braces to a child: starting with the “why”
Braces work by applying gentle, steady pressure to teeth over time, guiding them into the right position. That is the core fact your child needs to understand first. Everything else, including the appointments, the food rules, and the soreness, makes more sense once they grasp the purpose.
When talking about braces with kids, lead with benefits they actually care about. Straighter teeth make chewing easier, speaking clearer, and smiling more comfortable. Framing braces around health and confidence, rather than appearance alone, gives children a reason to cooperate that feels meaningful to them.
Common reasons kids need braces include crowding, gaps, overbites, underbites, and crossbites. You do not need to use those clinical terms with your child. Instead, try something like: “Your teeth are a little crowded right now, and braces will give them room to line up properly.” Simple, direct, and honest.
Analogies work well for children aged 7–12. One that lands consistently: braces are like a coach for your teeth. They guide each tooth to where it needs to be, one small step at a time. Another option is comparing braces to a slow-moving train on a track. The train does not rush, but it always gets to the right station.
- Braces fix crowding, gaps, and bite problems
- Treatment improves chewing, speaking, and long-term dental health
- Analogies like “teeth coaches” make the concept concrete for kids
- Health and confidence benefits resonate more than cosmetic framing
- Knowing friends or siblings with braces normalizes the process quickly
Pro Tip: If your child has a friend or older sibling who has had braces, ask that person to share their experience directly. Peer accounts carry far more weight than parental explanations for children in this age group.
What should you tell a child about the braces process?
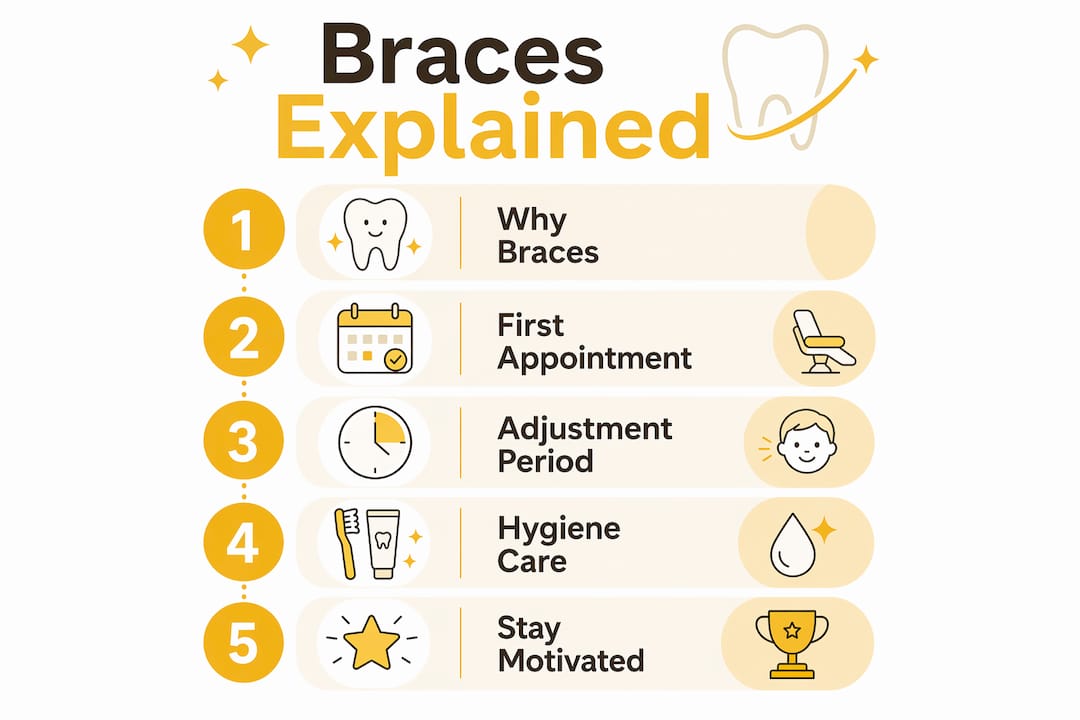
Explaining orthodontics to kids works best when you walk through the process step by step, in plain language, before it happens. Surprises create anxiety. Preparation creates confidence.
Start with the first appointment. Initial consultations last 30–60 minutes and include a clinical exam along with X-rays or scans. Tell your child exactly that. “The orthodontist is going to look at your teeth, take some pictures, and make a plan. You will not get braces that day.” Removing the unknown removes most of the fear.
Be honest about discomfort. Describing sensations as “weird” or “tight” prepares kids realistically without frightening them. Telling a child braces will not hurt at all is a mistake. When they feel soreness after the first placement, they will lose trust in everything else you told them. Most children adapt fully within 3–5 days, with minor soreness after adjustments lasting 24–48 hours. That timeline is reassuring when shared in advance.
Children mirror their parents’ emotional responses. If you talk about appointments with a calm, matter-of-fact tone, your child reads that as a signal that nothing alarming is happening. Framing each visit as a normal checkup, not a medical event, keeps cooperation high.
Encourage questions and take them seriously. When a child asks “Will it hurt?” or “Can I still eat pizza?”, answer directly. Dismissing those questions teaches children that their concerns do not matter, which leads to resistance later.
Here is a practical sequence for explaining the process:
- Start with the “why.” Explain what braces fix and why that matters for their health.
- Describe the first visit. Tell them what will happen, how long it takes, and that no braces go on that day.
- Explain the placement appointment. Describe the feeling of brackets being attached and the initial tightness.
- Walk through adjustment visits. Appointments occur every 4–8 weeks. Each one is short and routine.
- Set a finish-line expectation. Give a general timeframe so the treatment feels finite, not endless.
Pro Tip: Give your child one small choice at every appointment, starting with band colors. Choosing colored elastic ties improves cooperation by turning a clinical experience into personal expression. Children who feel some control over their treatment are far more likely to follow care instructions.
Managing the adjustment period: what parents need to know
The first week with braces is the hardest. Setting that expectation clearly, before it happens, prevents your child from thinking something has gone wrong.
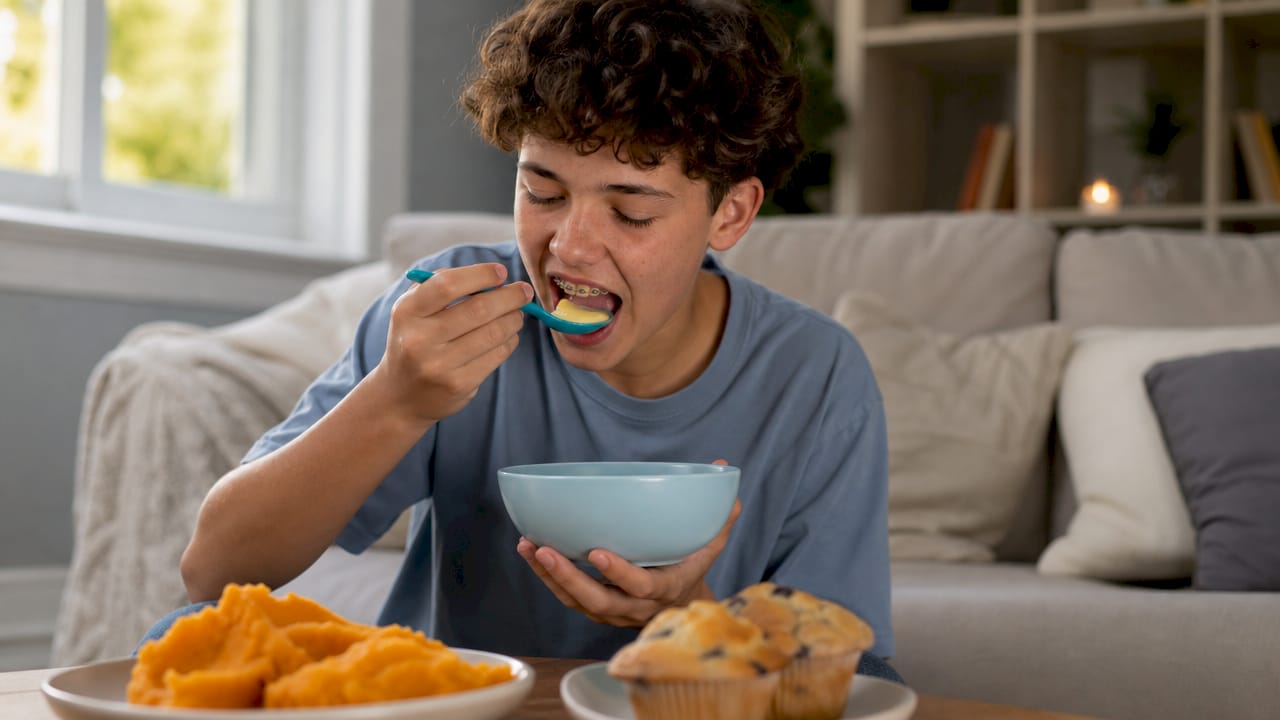
Soreness is normal and temporary. Stock soft foods and orthodontic wax before the placement appointment. Yogurt, mashed potatoes, scrambled eggs, and smoothies are practical staples for the first few days. Orthodontic wax covers sharp bracket edges that irritate the inside of the cheeks. Most children find relief quickly once they know these tools exist. For a detailed walkthrough of the early days, the first week of braces guide from Gloworthodontics covers the adjustment timeline in practical terms.
Oral hygiene becomes more demanding with braces. Food traps around brackets and wires, and skipping brushing leads to staining and decay. Teach your child to brush after every meal and to use a floss threader or water flosser to clean between wires. The Gloworthodontics braces brushing guide walks through the technique step by step.
Social and emotional challenges are real and should not be minimized. Some children worry about how braces look or fear teasing. Normalizing braces as common and temporary builds acceptance faster than telling a child not to worry. Validate the concern first: “I get it, it feels different. A lot of kids your age have braces right now.” Then redirect to the outcome.
| Do | Don’t |
|---|---|
| Eat soft foods the first week | Eat hard, crunchy, or sticky foods |
| Use orthodontic wax on sharp edges | Ignore irritation and hope it passes |
| Brush after every meal | Skip brushing because it takes longer |
| Ask the orthodontist about any pain | Assume all pain is normal without checking |
| Celebrate small milestones | Focus only on how long treatment takes |
| Validate emotional concerns | Dismiss worries about appearance or teasing |
How to keep kids engaged and cooperative throughout treatment
Motivation drops over time in any long process. Braces treatment can last one to three years, and keeping a child engaged requires more than reminders and rules.
Progress photos motivate children far more than constant rule enforcement. Take a photo at every adjustment appointment and keep them in a folder your child can scroll through. Seeing teeth visibly shift over months is concrete proof that the process is working. That visual evidence builds patience better than any lecture.
Reward systems work when they are tied to specific behaviors, not just outcomes. Reward consistent brushing, keeping appointments without complaint, and following food guidelines. Small, frequent rewards beat large distant ones for children aged 7–12.
- Take monthly progress photos and review them together
- Use a brushing chart with stickers for younger children
- Let your child pick their band color at every adjustment visit
- Involve your child in scheduling appointments when possible
- Celebrate milestones like the halfway point or the last adjustment
Pro Tip: Introduce fun oral hygiene tools early. Electric toothbrushes with two-minute timers, flavored floss picks, and brightly colored interdental brushes make the routine feel less like a chore. Children who enjoy their hygiene tools are more consistent with them.
Parents also set the tone for healthy habits. If you model consistent brushing and talk positively about dental care, your child absorbs that attitude. Autonomy in treatment choices combined with parental modeling creates the most cooperative patients.
Key Takeaways
Explaining braces to a child works best when parents lead with honesty, use simple analogies, and give children small choices that build their sense of control throughout treatment.
| Point | Details |
|---|---|
| Start with the “why” | Explain that braces fix crowding and bite issues for long-term health, not just appearance. |
| Be honest about discomfort | Describe sensations as “tight” or “weird” so children know what to expect and trust you. |
| Use the calm parent effect | Children mirror parental tone, so matter-of-fact communication reduces child anxiety. |
| Give small choices | Letting kids pick band colors improves cooperation and makes treatment feel personal. |
| Use progress photos | Visual proof of tooth movement motivates children through long treatment periods. |
What I have learned from watching families go through this
The parents who handle this conversation best are not the ones with the most clinical knowledge. They are the ones who stay calm and treat the whole thing as completely ordinary.
The biggest mistake I see is over-explaining before the child has even asked a question. When a parent launches into a detailed account of brackets, wires, and adjustment schedules, the child hears one thing: this is complicated and scary. The better move is to answer what is asked, simply and directly, and let curiosity drive the conversation forward.
Honesty about discomfort is non-negotiable. Children aged 7–12 are perceptive. They know when they are being managed. Telling a child it will not hurt, and then watching them experience soreness, destroys the trust you need for a year or more of treatment. “It will feel tight and a little sore for a few days” is both accurate and reassuring because it has an end point.
The detail that surprises most parents: the band color choice matters more than it sounds. Giving a child that one small decision at every visit shifts their relationship with treatment from something happening to them to something they are part of. That shift in mindset carries through the hard weeks.
Validating anxiety is not the same as amplifying it. You can acknowledge that something feels weird or uncomfortable without making it a big deal. “Yeah, that sounds annoying. It gets better in a few days” is the right register. Calm, honest, and brief.
— Juiced
Gloworthodontics: family-centered orthodontic care in Langley
Gloworthodontics serves families across the Langley, British Columbia area with personalized orthodontic evaluations and treatment plans built around each child’s specific needs.

The team at Gloworthodontics takes time to walk both parents and children through every step of treatment before it begins, which means fewer surprises and a smoother adjustment period. For families weighing their options, the orthodontic care guide for teens covers treatment phases, timing, and what to expect at each stage. Parents who want to understand the full picture before the first appointment can also review the questions to ask your orthodontist resource to walk in prepared. Book a consultation at Gloworthodontics to get your child’s evaluation scheduled.
FAQ
When should a child have their first orthodontic evaluation?
The American Association of Orthodontists recommends an initial evaluation by age 7. Early assessment allows orthodontists to identify jaw and bite issues before they become harder to treat.
How do I comfort a child who is nervous about getting braces?
Validate the anxiety first, then redirect to the outcome. Staying calm yourself is the single most effective thing you can do, since children read and mirror parental emotional cues directly.
How long does soreness last after braces are put on?
Most children adapt fully within 3–5 days of placement, with soreness after routine adjustments lasting 24–48 hours. Soft foods and orthodontic wax manage discomfort effectively during those windows.
What foods should kids avoid with braces?
Children with braces should avoid hard, crunchy, and sticky foods, including popcorn, hard candies, caramel, and chewing gum. These foods bend wires or pull brackets loose, which extends treatment time.
How do I keep my child motivated during a long treatment?
Progress photos taken at each adjustment visit give children visible proof that their teeth are moving. Pairing photos with small rewards for consistent hygiene habits keeps motivation steady across a multi-year treatment period.