How Braces Are Put On: A Step-by-Step Guide for 2025
September 11, 2025
How Braces Are Put On: A Step-by-Step Guide for 2025
Getting braces is a big step toward a healthier, straighter smile and millions of people in the US choose orthodontic treatment each year. But brace yourself for this. Most patients are surprised to learn that the process involves far more than just snapping brackets on teeth. The real success comes down to detailed preparation, close attention to aftercare, and a clear understanding of every step before the wires are ever added.
Table of Contents
- Step 1: Schedule Your Orthodontic Consultation
- Step 2: Prepare For Your Appointment
- Step 3: Clean Your Teeth Thoroughly
- Step 4: Apply The Brackets And Archwire
- Step 5: Secure The Braces And Add Rubber Bands
- Step 6: Verify Comfort And Provide Aftercare Instructions
Quick Summary
| Key Point | Explanation |
|---|---|
| 1. Prepare Essential Documents | Gather medical history, insurance information, and previous dental records before your appointment for an efficient consultation. |
| 2. Clean Your Teeth Thoroughly | Brush and floss meticulously to ensure your mouth is clean and provides a clear view for your orthodontist during the examination. |
| 3. Develop a Question List | Create a list of specific questions about treatment options, timelines, and financial aspects to maximize your consultation’s effectiveness. |
| 4. Follow Aftercare Instructions | Understand and implement the aftercare guidelines provided by your orthodontist to maintain oral hygiene and comfort after receiving braces. |
| 5. Schedule Regular Follow-Up Appointments | Regular follow-ups are crucial for monitoring progress, adjusting treatment, and addressing any issues that arise during your orthodontic journey. |
Step 1: Schedule Your Orthodontic Consultation
The initial orthodontic consultation is your gateway to understanding potential treatment options and beginning your journey toward a transformed smile. This crucial first step allows orthodontic professionals to assess your specific dental needs, evaluate potential treatment approaches, and create a personalized plan tailored precisely to your oral health requirements.
Scheduling your consultation involves several strategic considerations that can significantly impact your overall orthodontic experience. When reaching out to an orthodontic practice like Glow Orthodontics, you will want to prepare relevant medical and dental information beforehand. According to research from the University of Minnesota Dental Clinic, patients should compile the following details to streamline their initial appointment:
- Current dental insurance information
- Medical history documentation
- List of existing dental conditions or concerns
- Previous dental x-rays or treatment records
During the consultation, expect a comprehensive examination that typically includes digital imaging, visual assessment of teeth alignment, and discussion of potential treatment pathways. Orthodontists will carefully examine jaw positioning, tooth spacing, bite alignment, and overall oral structure to determine the most appropriate intervention strategy.
The consultation provides an excellent opportunity to ask questions about treatment duration, expected outcomes, potential challenges, and financial considerations. Professional orthodontists recommend preparing a list of questions in advance to ensure you gather all necessary information during this initial meeting. Be prepared to discuss your specific aesthetic and functional goals, which will help your orthodontist develop a customized treatment plan that addresses both medical necessities and personal preferences.
Successful completion of this initial consultation means walking away with a clear understanding of your orthodontic needs, potential treatment options, and a structured plan moving forward. By approaching this first step with preparation and curiosity, you set the foundation for a transformative orthodontic journey that can enhance both your dental health and personal confidence.
Step 2: Prepare for Your Appointment
Preparing for your orthodontic appointment is a critical step that can significantly enhance the efficiency and effectiveness of your initial consultation. This stage involves gathering essential documentation, understanding your dental history, and ensuring you have a comprehensive overview of your oral health before meeting with your orthodontist.
Your preparation journey begins with collecting important medical and dental records. According to research from the University of Minnesota Dental Clinic, patients should compile a comprehensive packet of information that provides a holistic view of their dental background. This includes recent dental x-rays, past treatment records, current insurance documentation, and a detailed medical history that highlights any existing conditions or medications that might impact orthodontic treatment.
Before your appointment, schedule a check-up with your regular dentist to ensure your oral health is optimal. This preliminary visit allows for professional cleaning, potential cavity treatment, and a thorough examination that can provide additional insights for your orthodontist. Addressing any existing dental issues beforehand can streamline your orthodontic consultation and prevent potential complications during treatment planning.
Mental preparation is equally important. Take time to reflect on your specific dental concerns, aesthetic goals, and expectations from orthodontic treatment. Develop a list of questions that cover treatment duration, potential discomfort, financial considerations, and expected outcomes. This proactive approach demonstrates your commitment and helps your orthodontist understand your unique needs.
Prepare documentation and considerations such as:
- Current dental insurance cards
- List of existing medical conditions
- Previous dental x-rays or treatment records
- Personal questions about treatment process
- Financial documentation or payment preferences
Additionally, consider practical aspects of your appointment day. Plan to arrive 15-20 minutes early to complete any necessary paperwork, bring a list of current medications, and ensure you have a clear understanding of the consultation’s expected duration. Wearing comfortable clothing and maintaining a relaxed mindset will help you engage more effectively during the examination and discussion.
To help you prepare efficiently for your orthodontic appointment, here is a checklist summarizing essential documents and considerations to bring with you.
| Item | Purpose | Additional Notes |
|---|---|---|
| Dental insurance card | Verifies coverage and payment options | Have latest version available |
| Medical history documentation | Alerts orthodontist to conditions/medications | Include allergies and ongoing treatments |
| Previous dental x-rays/treatment records | Provides full history for assessment | Ask dentist for most recent copies |
| List of current medications | Identifies potential drug interactions | Include supplements if relevant |
| Financial documentation/payment info | Facilitates billing and payment arrangements | Prepare questions about payment plans |
| List of dental conditions/concerns | Guides orthodontist in addressing your needs | Note any pain, sensitivity, or goals |
| Prepared questions about treatment | Ensures all your concerns are discussed | Covers duration, discomfort, and options |
Successful preparation transforms your initial orthodontic consultation from a potentially overwhelming experience into a structured, informative meeting that sets the foundation for your dental transformation. By approaching this step with organization, curiosity, and thorough documentation, you position yourself for a more productive and insightful orthodontic journey.
Step 3: Clean Your Teeth Thoroughly
Cleaning your teeth thoroughly before your orthodontic appointment is a fundamental step that sets the stage for a successful examination and potential treatment. This process goes beyond your typical daily dental routine, requiring meticulous attention to detail and comprehensive oral hygiene practices that demonstrate your commitment to dental health.
According to research from the National Institute of Dental and Craniofacial Research, preparing your teeth involves a systematic approach that ensures every surface is clean and free from potential complications. Start with a high-quality, soft-bristled toothbrush and fluoride toothpaste, focusing on gentle yet thorough cleaning techniques that reach every tooth surface and gum line.
Begin your comprehensive cleaning by spending adequate time brushing each tooth quadrant. Use circular motions that cover the front, back, and chewing surfaces, ensuring you’re not just quickly sweeping across your teeth. Pay special attention to areas where teeth overlap or have natural crevices, as these spots are prone to plaque accumulation. Spend at least two minutes brushing, dedicating roughly 30 seconds to each quadrant of your mouth.
Flossing is equally crucial and often overlooked in dental preparation. Carefully maneuver dental floss between each tooth, using a gentle sawing motion to remove trapped food particles and plaque. Angle the floss slightly against the tooth surface to effectively clean the sides and just beneath the gum line. For those with tight spaces or who find traditional flossing challenging, consider using interdental brushes or water flossers that can provide thorough cleaning with less manual dexterity required.
Consider incorporating additional oral hygiene tools for a comprehensive clean:
- Interdental brushes for tight spaces
- Fluoride mouthwash for additional bacterial protection
- Tongue scraper to remove bacterial buildup
- Water flosser for hard-to-reach areas
After completing your thorough cleaning, rinse your mouth with an antiseptic mouthwash to eliminate any remaining bacteria and provide a fresh, clean feeling. Take a moment to inspect your teeth in a well-lit mirror, ensuring no visible food particles remain and your mouth feels completely clean.
This final verification step guarantees you’ve prepared your teeth to the highest standard possible.
A meticulously cleaned mouth not only impresses your orthodontist but also provides a clear, unobstructed view of your dental structure, enabling a more accurate initial assessment. By investing time and care into this preparation, you demonstrate your dedication to oral health and set a positive tone for your upcoming orthodontic consultation.
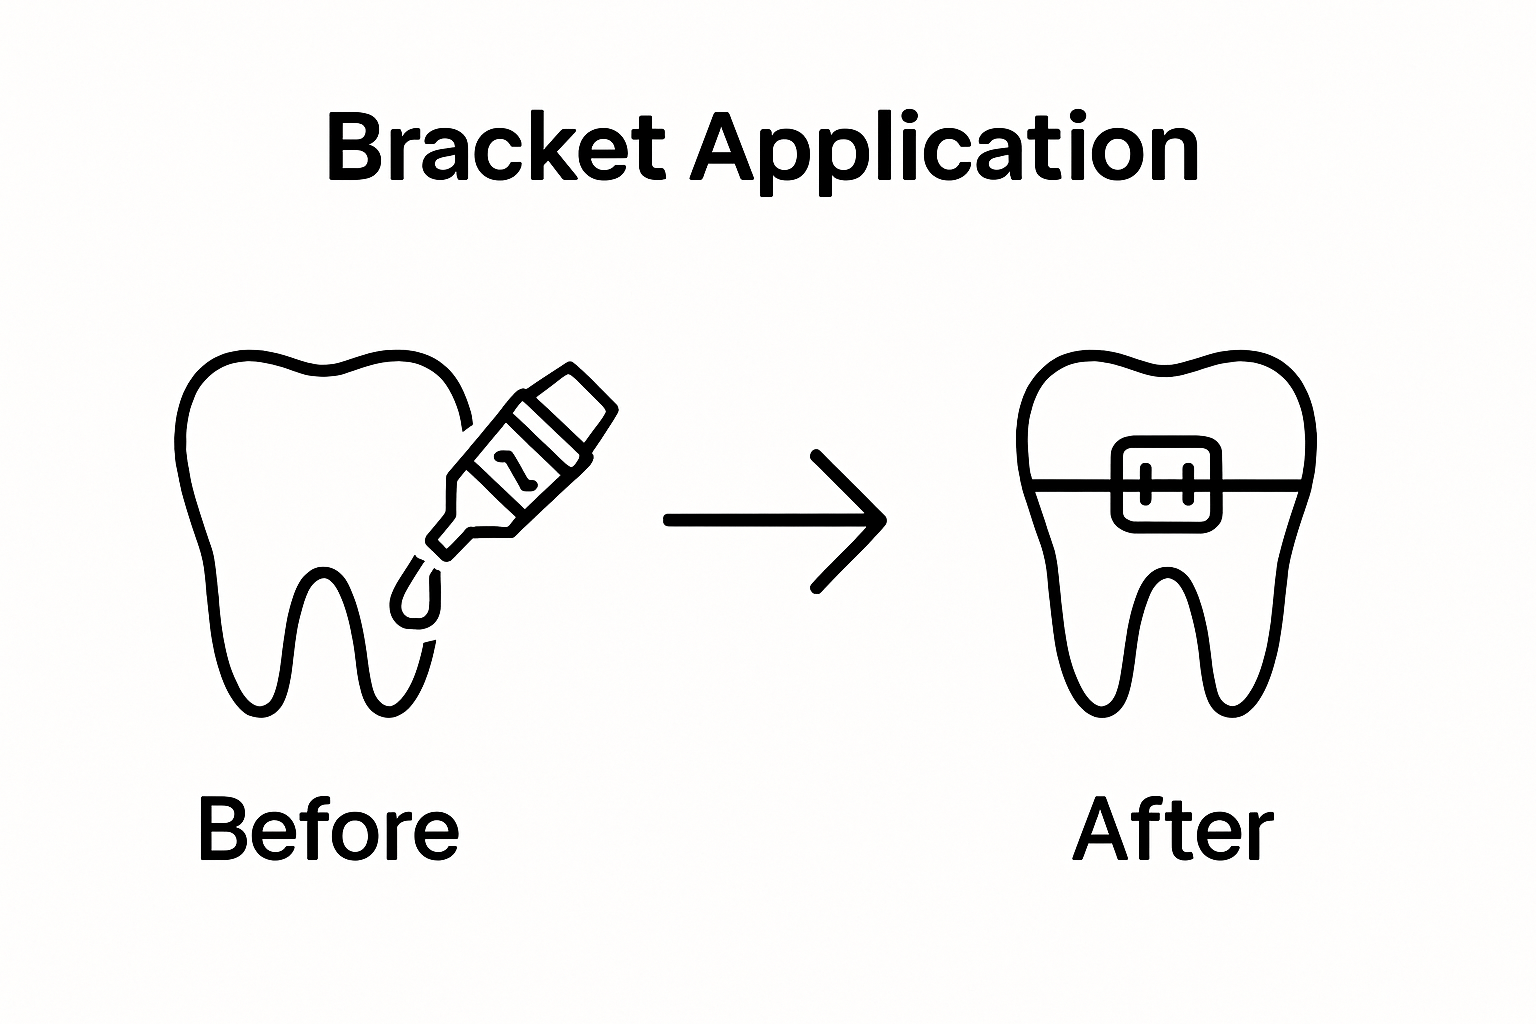
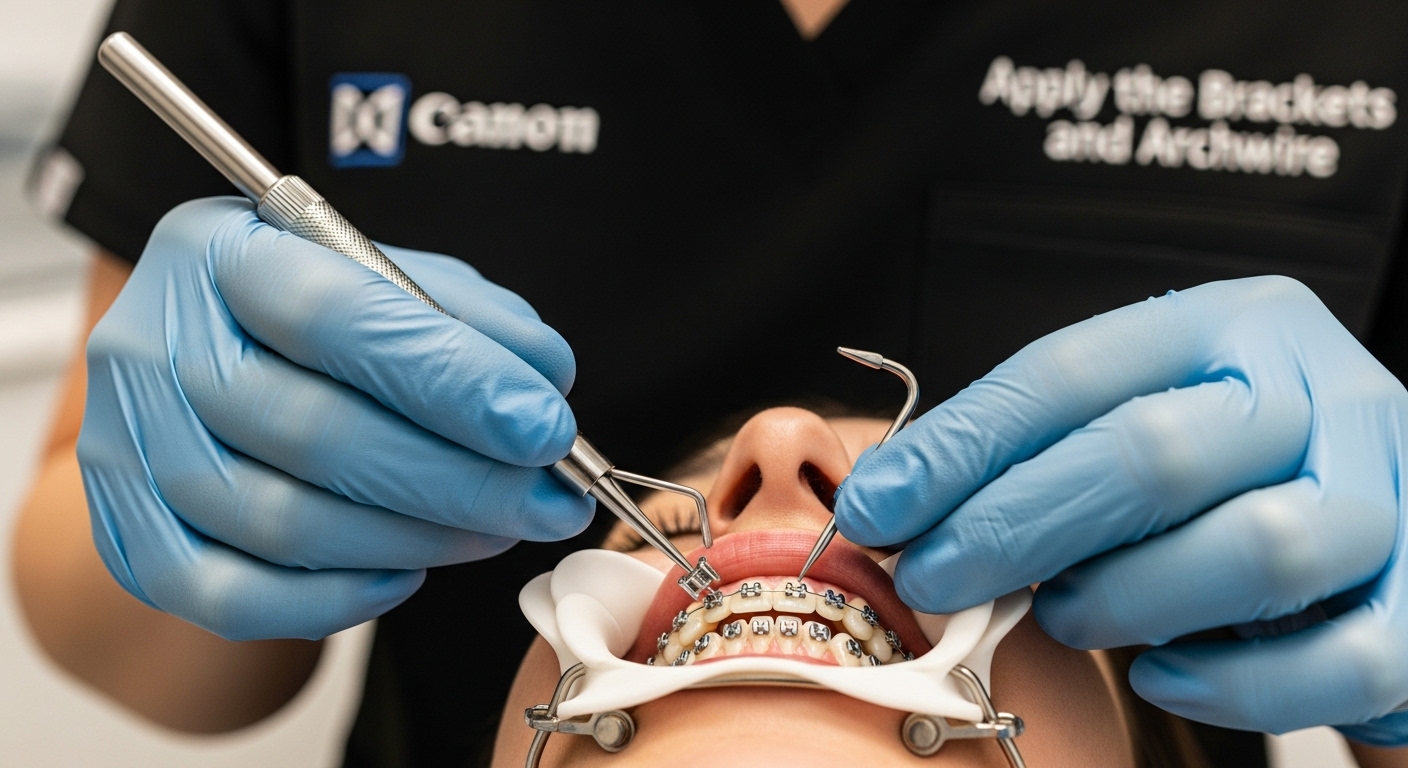
Step 4: Apply the Brackets and Archwire
The application of brackets and archwire represents a pivotal moment in your orthodontic treatment, transforming your dental alignment through a precise and carefully orchestrated process. This step involves strategically positioning small metal or ceramic attachments directly onto each tooth surface, creating a foundation for gradual and controlled dental movement.
According to research examining orthodontic mechanical responses, the bracket placement requires exceptional precision and professional expertise. Your orthodontist will begin by thoroughly cleaning and conditioning each tooth surface, ensuring a strong and secure bond for the brackets. A specialized dental adhesive is meticulously applied, allowing each bracket to be positioned with microscopic accuracy using advanced placement tools.
The positioning process involves mapping your unique dental landscape, with brackets strategically placed to apply targeted pressure and guide teeth into their optimal alignment. Your orthodontist will use specialized measuring tools and digital imaging to determine the exact location for each bracket, considering factors like tooth size, jaw structure, and desired movement patterns.
 Small brackets are carefully aligned and pressed onto the tooth surface, with excess adhesive carefully removed to ensure a clean, comfortable fit.
Once the brackets are securely attached, the archwire becomes the primary mechanism for tooth movement. This thin, flexible wire connects the brackets and applies consistent, gentle pressure to guide teeth into their intended positions. Your orthodontist will select an archwire matched precisely to your treatment requirements, considering factors like material flexibility, thickness, and expected movement trajectory.
Key considerations during bracket and archwire application include:
- Precise bracket positioning
- Optimal adhesive bonding
- Customized archwire selection
- Minimal patient discomfort
- Accurate pressure distribution
The final verification involves a comprehensive check of bracket alignment, wire tension, and overall comfort. Your orthodontist will guide you through the initial sensations, explaining what to expect during the first few days of wearing braces. They will demonstrate proper cleaning techniques and provide guidance on managing potential initial discomfort.
Successful bracket and archwire application marks the beginning of your transformative orthodontic journey. By understanding the meticulous process behind this step, you can approach your treatment with confidence, knowing that each carefully placed bracket represents a strategic move toward your ideal smile.
Here is an overview of the main steps involved in getting braces, with each step’s purpose and expected outcome.
| Step | Purpose | Expected Outcome |
|---|---|---|
| Schedule Orthodontic Consultation | Assess needs, develop treatment plan | Personalized treatment strategy |
| Prepare for Appointment | Gather records, set expectations | Efficient, informed initial visit |
| Clean Teeth Thoroughly | Ensure clean oral environment | Clear view for examination |
| Apply Brackets and Archwire | Attach braces to teeth for alignment | Brackets and wire positioned |
| Secure Braces and Add Rubber Bands | Install elastics for targeted movement | Braces stabilized, movement initiated |
| Verify Comfort & Aftercare Instructions | Confirm fit, educate on care and next steps | Patient leaves with knowledge and schedule |
Step 5: Secure the Braces and Add Rubber Bands
Adding rubber bands to your braces represents a critical phase in orthodontic treatment, where precise mechanical adjustments transform your dental alignment. This step involves strategically placing small elastic bands that apply targeted pressure to guide teeth and correct bite positioning, creating a synchronized movement toward your ideal smile.
According to Nationwide Children’s Hospital’s orthodontic guidelines, the rubber band application process requires careful attention and consistent maintenance. Your orthodontist will demonstrate the exact placement technique, showing you how to hook these small yet powerful elastics between specific brackets to create the desired tooth movement. These bands come in various colors and tensions, each selected to address your unique dental alignment requirements.
The placement of rubber bands demands precision and personal responsibility. Your orthodontist will identify specific hookpoints on your brackets where the elastics will be connected, typically creating a triangular or diagonal configuration that applies controlled pressure. The direction and angle of band placement are crucial, as they determine how your teeth and jaw will be guided into their optimal position. Some patients might require different band configurations to address specific alignment challenges, such as overbite, underbite, or crossbite corrections.
Maintaining these rubber bands requires diligence and commitment. You will need to replace them multiple times daily, removing them only during meals and while brushing your teeth. The consistent pressure they provide is essential for effective treatment, making your personal compliance a key factor in achieving desired results. Your orthodontist will provide specific instructions on band replacement frequency, typically recommending changes every 4-6 hours to maintain consistent tension.
Key considerations for rubber band management include:
- Precise placement between designated bracket hooks
- Consistent daily replacement
- Removal during eating and dental hygiene
- Tracking band tension and condition
- Following orthodontist’s specific wearing instructions
Successful rubber band application requires understanding their role in your overall treatment plan. They are not merely accessories but active treatment components that guide your teeth into alignment. Your orthodontist will regularly assess their effectiveness during follow-up appointments, making adjustments to band configuration or tension as your teeth gradually move.
By approaching rubber band application with patience, precision, and commitment, you transform these small elastic bands into powerful tools for creating your ideal smile. Each band represents a step closer to your desired dental alignment, turning a seemingly simple attachment into a sophisticated orthodontic intervention.
Step 6: Verify Comfort and Provide Aftercare Instructions
The final stage of your braces installation involves a comprehensive comfort assessment and detailed aftercare guidance, ensuring your orthodontic journey begins smoothly and confidently. This critical step transforms technical dental procedures into a personalized, patient-centered experience that empowers you to manage your new orthodontic appliances effectively.
According to research from the Harvard School of Dental Medicine, patient education is paramount in successful orthodontic treatment. Your orthodontist will conduct a thorough comfort evaluation, checking the fit of brackets, tension of archwires, and positioning of rubber bands. They will gently probe your mouth, asking about any immediate sensations of pressure, potential areas of discomfort, or unusual sensations that might require adjustment.
During this verification process, your orthodontist will provide extensive aftercare instructions tailored to your specific treatment plan. They will demonstrate precise cleaning techniques using specialized orthodontic tools, highlighting the importance of maintaining impeccable oral hygiene with braces. Expect a detailed walkthrough of brushing and flossing methods that navigate around brackets and wires, ensuring you can effectively clean every tooth surface and prevent potential complications like plaque buildup or potential tooth decay.
Nutrition and lifestyle modifications are equally crucial components of your aftercare instructions. Your orthodontist will outline a comprehensive guide for food choices, recommending soft foods during initial adjustment periods and providing a detailed list of foods to avoid that might damage your braces. They will discuss strategies for managing potential discomfort, such as using orthodontic wax to prevent bracket friction and recommending over-the-counter pain management techniques for the first few days after installation.
Key aftercare considerations include:
- Proper brushing and flossing techniques
- Dietary modifications
- Pain management strategies
- Orthodontic tool usage
- Scheduled follow-up appointments
The verification process concludes with scheduling your first follow-up appointment, typically within 4-6 weeks of initial brace installation. Your orthodontist will review potential warning signs that might necessitate immediate attention, such as broken brackets, significant discomfort, or unexpected shifting. They will equip you with emergency contact information and guidance on managing unexpected situations.
Successful completion of this step means walking away with a comprehensive understanding of your treatment, feeling confident in your ability to care for your new braces. By investing time in this detailed verification and education process, you set the foundation for a smooth, effective orthodontic experience that will ultimately transform your smile.
Ready for a Confident Start to Your Braces Journey?
You have just learned how braces are put on, step by step, and discovered the importance of preparation, precision, and aftercare. Still feeling uneasy about what comes next or worried about managing discomfort and daily routines? Many patients share your concerns about getting started, understanding the bracket and archwire process, or keeping their smile healthy throughout treatment. At Glow Orthodontics, our caring team is dedicated to turning uncertainty into confidence using the same careful approach described in this guide. Whether you are seeking answers about your initial consultation, want hands-on coaching in brace care, or hope for a smoother experience in a warm and friendly office, we are here to help you every step of the way.

Take control of your orthodontic future by scheduling your personalized consultation with Glow Orthodontics today. We encourage you to explore our treatment philosophy and see real patient stories on our homepage. Discover how our expertise in modern orthodontics can help you achieve the smile you have always wanted, starting right here in Langley. Book your visit now and let us support you from your very first appointment to your glowing new smile.
Frequently Asked Questions
How long does the orthodontic consultation last?
The initial orthodontic consultation typically lasts between 30 minutes to an hour, allowing time for a comprehensive examination and discussion of treatment options.
What should I prepare for my orthodontic appointment?
Before your appointment, gather important documents such as dental insurance information, medical history records, and a list of questions regarding treatment options and expectations.
How do I clean my teeth before getting braces?
Brush thoroughly using a soft-bristled toothbrush and fluoride toothpaste, floss between each tooth, and consider using mouthwash. Pay special attention to areas where plaque tends to build up.
What are the aftercare instructions after getting braces?
After getting braces, follow specific cleaning techniques, modify your diet to include soft foods, manage discomfort with over-the-counter pain relievers, and maintain scheduled follow-up appointments for adjustments.