How to Brush with Braces: A Step-by-Step Guide
September 2, 2025
How to Brush with Braces: A Step-by-Step Guide
Brushing your teeth with braces is a whole new experience. Suddenly a basic routine turns into a careful balancing act, with brackets and wires in the way at every turn. Here’s what most people never realize—orthodontic patients need to replace their toothbrush about every three months, which is far more often than people without braces. Getting this right is not just about fresh breath. It actually protects your smile for years to come.
Table of Contents
- Step 1: Gather Your Brushing Supplies
- Step 2: Position Your Toothbrush Correctly
- Step 3: Brush Your Teeth Thoroughly
- Step 4: Clean Between The Braces And Teeth
- Step 5: Rinse And Inspect Your Smile
Quick Summary
| Key Point | Explanation |
|---|---|
| 1. Use a soft-bristled orthodontic toothbrush | This type of toothbrush effectively cleans around brackets and wires without causing damage to your orthodontic equipment. |
| 2. Employ fluoride toothpaste for protection | Fluoride toothpaste strengthens enamel and helps prevent decalcification that can occur during orthodontic treatment. |
| 3. Incorporate interdental brushes or threaders | These tools help clean between braces and teeth, reaching areas that standard brushing may miss. |
| 4. Rinse with fluoride mouthwash after brushing | Rinsing helps wash away remaining debris and provides extra cavity protection tailored for orthodontic patients. |
| 5. Inspect your teeth after cleaning | Regularly checking your smile in a mirror ensures no food particles remain around brackets and helps maintain oral health. |
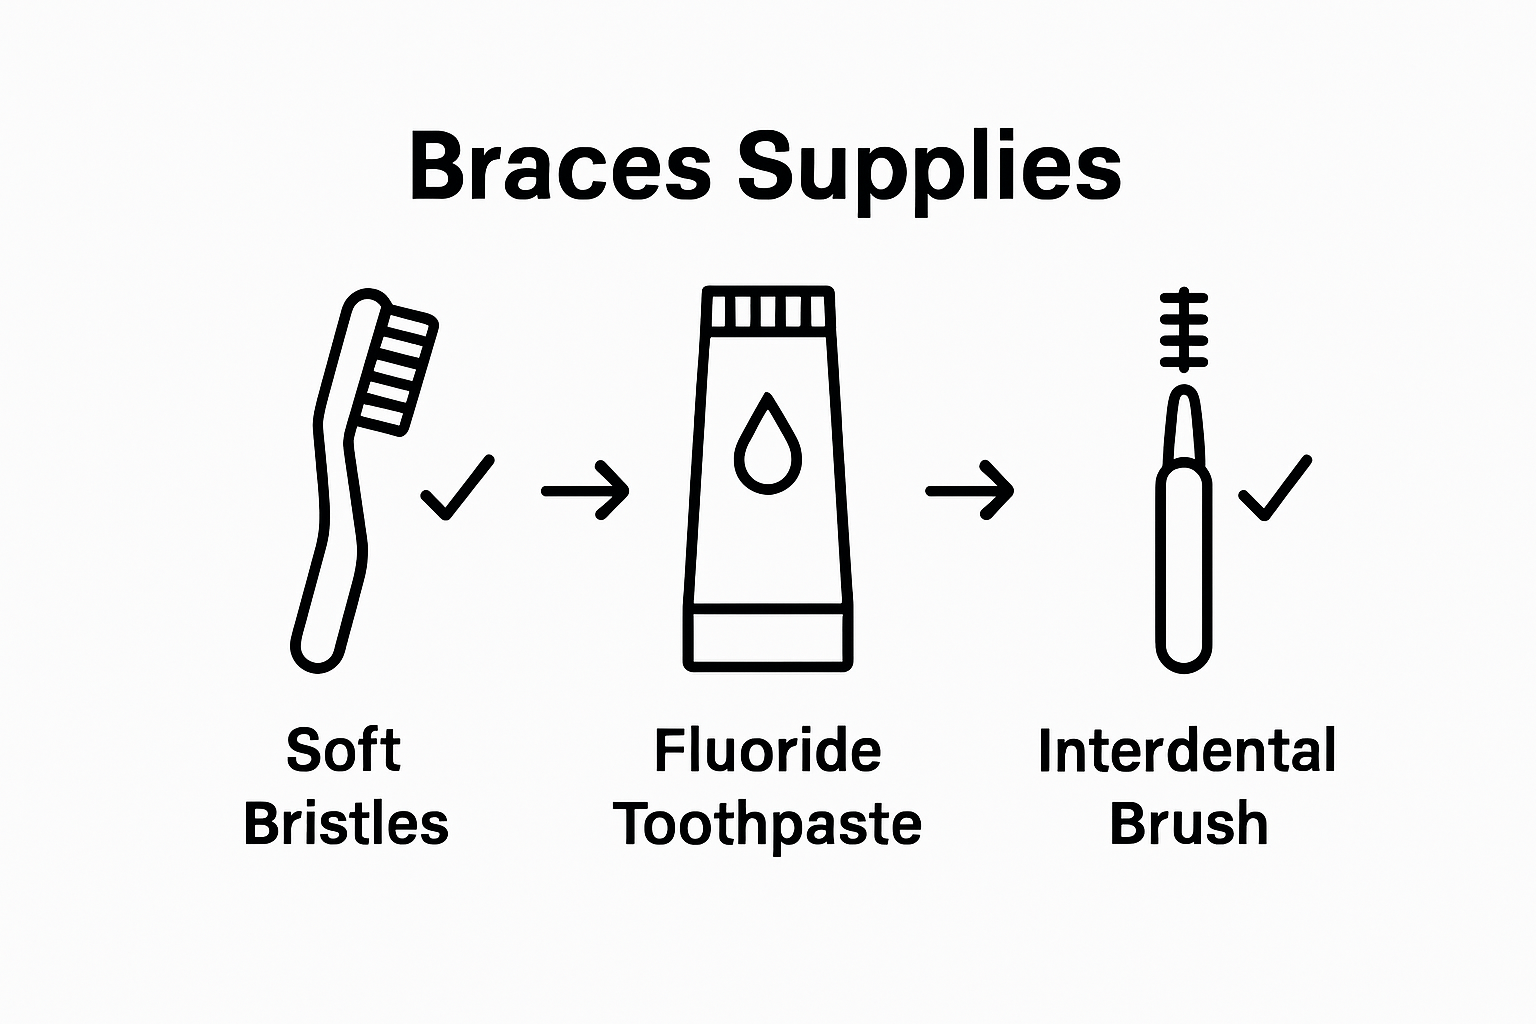
Step 1: Gather Your Brushing Supplies
Successful oral hygiene with braces starts before you even touch a toothbrush. Preparing the right tools makes your brushing routine more effective and helps protect your orthodontic investment. The American Dental Association recommends specific equipment to ensure thorough cleaning around brackets and wires.
Your essential brushing toolkit should include several specialized items designed to navigate the unique challenges of orthodontic care. A soft-bristled toothbrush with a small head is crucial for reaching around brackets and between wires. Look for orthodontic-specific brushes with angled or V-shaped bristle configurations that can clean more effectively around braces.
In addition to your specialized toothbrush, you will need high-quality fluoride toothpaste to strengthen tooth enamel and protect against potential decalcification that can occur during orthodontic treatment. Choose a non-abrasive formula that provides comprehensive protection without scratching brackets or wires.
Complement your brushing routine with additional cleaning tools such as an interdental brush and orthodontic floss threaders. These tools help you navigate around brackets and wires, removing food particles and plaque that standard brushing might miss. An oral irrigator (water flosser) can also be an excellent supplemental tool for thorough cleaning, providing targeted water streams to dislodge debris from hard-to-reach areas.
Organize your supplies in a dedicated bathroom kit to streamline your oral care process. Keep everything easily accessible to maintain consistency in your brushing routine. Quick tip: Replace your toothbrush more frequently when wearing braces—approximately every three months or sooner if bristles become frayed—to ensure optimal cleaning performance.
By gathering the right supplies and preparing thoughtfully, you set the foundation for maintaining excellent oral hygiene throughout your orthodontic journey. Your meticulous preparation will contribute to healthier teeth, stronger gums, and a more successful braces experience.
Below is a summary table outlining all five main brushing steps for braces, with notes on time investment and key focus areas for each step.
| Step | Description | Time Estimate | Key Focus |
|---|---|---|---|
| 1. Gather Supplies | Assemble toothbrush, toothpaste, floss tools, and optional oral irrigator | 1 minute | Preparation, using correct tools |
| 2. Position Toothbrush | Hold brush at 45-degree angle and use gentle, circular motions | 30 seconds | Proper angle, gentle movement |
| 3. Brush Thoroughly | Clean all surfaces, spend time in each quadrant | 2 minutes | Full coverage, patience |
| 4. Clean Between Braces | Use floss threaders, interdental brushes, or water flosser | 1-2 minutes | Detailed cleaning, gentle technique |
| 5. Rinse & Inspect | Rinse with mouthwash and inspect teeth with mirror | 1 minute | Double-check cleanliness, final touch-up |
Verification checklist for your brushing supplies:
- Soft-bristled orthodontic toothbrush
- Fluoride toothpaste
- Interdental brush
- Floss threaders
- Optional: Oral irrigator
Step 2: Position Your Toothbrush Correctly
Mastering the correct toothbrush positioning is a critical skill when cleaning teeth with braces. According to the American Dental Association, proper brush placement determines how effectively you remove plaque and food particles around orthodontic hardware. Precision matters more than speed or pressure when navigating the complex landscape of brackets and wires.
Angle is everything when brushing with braces. Position your soft-bristled toothbrush at a strategic 45-degree angle to your gumline, targeting the area where your teeth and gums meet. This approach allows the bristles to clean both the tooth surface and the small spaces around brackets simultaneously. Imagine your toothbrush as a precision instrument designed to navigate the architectural complexity of your braces.
Begin with the outer surfaces of your teeth, holding the brush at that critical 45-degree angle. Use gentle, circular motions that cover each tooth and bracket thoroughly. Rotate the brush slowly, ensuring you clean the entire surface of each tooth. Pay special attention to the areas directly above and below the brackets, where food particles most commonly accumulate. Think of this as a meticulous cleaning process where no surface goes untouched.
Transition to the inner surfaces of your teeth using the same careful technique. Tilt your brush vertically and use gentle up-and-down strokes to clean the inner tooth surfaces. This approach helps you reach areas that are typically challenging with braces. Remember that consistent, gentle movements are more effective than aggressive scrubbing, which can damage brackets or irritate your gums.
Different sections of your mouth require slightly varied approaches. Your front teeth might need more direct, precise movements, while back molars require more strategic angling to clean around larger brackets. Practice and patience will help you develop muscle memory for these nuanced cleaning techniques.
Verification checklist for correct toothbrush positioning:
- 45-degree angle to gumline
- Gentle circular motions
- Coverage of entire tooth surface
- Cleaning above and below each bracket
- Soft, consistent brush movements
By mastering these positioning techniques, you transform a simple brushing routine into a comprehensive oral care strategy that protects both your braces and your dental health.
Step 3: Brush Your Teeth Thoroughly
Thorough brushing with braces requires a strategic, systematic approach that goes beyond traditional tooth cleaning. According to the American Dental Association, comprehensive cleaning demands patience, precision, and a methodical technique to ensure every tooth surface and bracket receives proper attention.
Start with the outer tooth surfaces, using the 45-degree angle technique established in the previous step. Divide your mouth into quadrants—upper right, upper left, lower right, and lower left—and spend approximately 30 seconds in each section. This approach ensures no area is overlooked. Begin by gently brushing the outer surfaces of your teeth, moving the brush in small circular motions that cover both the tooth and the bracket.
Transition to the inner tooth surfaces with equal care and attention. Tilt your toothbrush vertically and use gentle up-and-down strokes to clean these harder-to-reach areas. Pay special attention to the areas directly around brackets, where food particles tend to accumulate. Your goal is to remove plaque without applying excessive pressure that could damage brackets or irritate your gums.
This table provides a quick reference for the uses and features of each cleaning tool or supply mentioned for maintaining oral hygiene with braces.
| Tool / Supply | Purpose / Use | Special Features |
|---|---|---|
| Soft-bristled toothbrush | Cleans around brackets and wires | Small head, orthodontic-design, gentle bristles |
| Fluoride toothpaste | Strengthens enamel, prevents decalcification | Non-abrasive, cavity protection |
| Interdental brush | Cleans between braces and teeth | Small head, fits around brackets and wires |
| Floss threaders | Helps guide floss under archwire | Flexible plastic, easy threading |
| Oral irrigator (optional) | Removes debris with water stream | Reaches difficult areas, extra thorough cleaning |
| Fluoride mouthwash | Rinses away debris, extra cavity protection | Tailored for orthodontic needs |
| Compact mirror | Aids in inspection after brushing | Multiple viewing angles, portable |
The chewing surfaces of your teeth require a different approach. Use back-and-forth sweeping motions to clean these areas thoroughly. Imagine you are painting each tooth surface with your toothbrush, ensuring complete coverage without missing any spots. This technique helps dislodge food particles and plaque that can get trapped in the grooves and around brackets.
Time is a crucial factor in effective brushing. Aim to brush for a full two minutes, which might feel longer than your previous brushing routine. Consider using a timer or an electric toothbrush with a built-in timer to ensure you’re dedicating enough time to each section of your mouth. Breaking your brushing into quadrants helps maintain focus and ensures comprehensive cleaning.
Verification checklist for thorough brushing:
- Cleaned all outer tooth surfaces
- Brushed inner tooth surfaces
- Cleaned chewing surfaces
- Spent 30 seconds in each mouth quadrant
- Total brushing time of 2 minutes
By embracing this methodical approach, you transform your brushing routine from a simple task to a comprehensive oral care strategy that protects both your braces and your dental health.
Step 4: Clean Between the Braces and Teeth
Cleaning between teeth and braces requires specialized techniques that go beyond traditional flossing. According to the Illinois Department of Public Health, individuals with braces need specific tools to effectively remove trapped food particles and prevent plaque buildup.
Floss threaders are your primary weapon in navigating the complex terrain of braces. These flexible plastic tools help you guide traditional dental floss underneath the main archwire, allowing you to clean between teeth that are typically challenging to reach. Begin by threading the floss through the plastic threader, then carefully maneuver it under the wire, creating a pathway to clean between each tooth.
For those who find traditional flossing challenging, interdental brushes offer an excellent alternative. These tiny, specialized brushes can slide between brackets and teeth, removing debris and plaque in areas where standard floss might struggle. Select an interdental brush with a small head that can easily navigate around brackets and wires. Gently insert the brush between teeth, using a light back-and-forth motion to clean thoroughly without damaging your orthodontic equipment.
Water flossers provide another powerful cleaning option for individuals with braces. These devices use targeted water streams to flush out food particles and plaque from around brackets and between teeth. Position the water flosser tip at a 90-degree angle to your gumline, moving systematically across each tooth and bracket. The pressurized water can reach areas that traditional brushing and flossing might miss, providing an additional layer of cleaning protection.
Consistent technique matters more than aggressive movements. Take your time and be gentle when cleaning between teeth and braces. Move slowly and deliberately, ensuring you clean each tooth’s surface without applying excessive pressure that could damage brackets or irritate your gums. Most orthodontic experts recommend spending at least one to two minutes on this detailed cleaning process.
Verification checklist for cleaning between braces:
- Used floss threader to clean between teeth
- Cleaned around each bracket
- Utilized interdental brush or water flosser
- Checked for any remaining food particles
- Cleaned all tooth surfaces thoroughly
By incorporating these meticulous cleaning techniques, you protect your investment in orthodontic treatment and maintain optimal oral health throughout your braces journey.
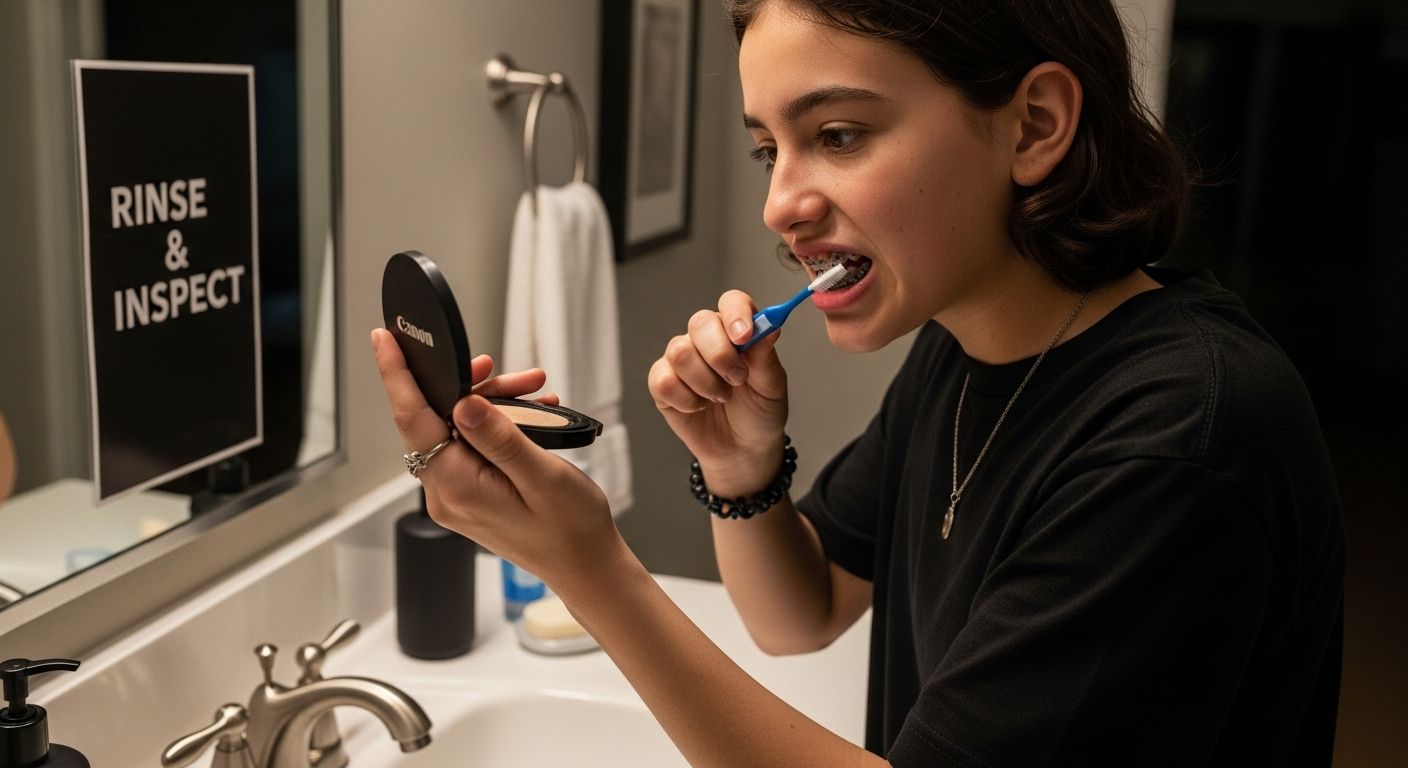
Step 5: Rinse and Inspect Your Smile
The final stage of your orthodontic cleaning routine is both functional and rewarding. According to Nationwide Children’s Hospital, rinsing and inspecting your smile serves multiple critical purposes beyond simply washing away toothpaste.
Rinsing is more than just a quick water swish. Select a fluoride mouthwash specifically designed for orthodontic patients, which provides additional protection against cavity-causing bacteria. Take a generous amount of mouthwash and swirl it thoroughly around your mouth, ensuring the liquid reaches every corner and flows between your braces. Tilt your head slightly to allow the mouthwash to penetrate areas that brushing might have missed.
After rinsing, position yourself in front of a well-lit mirror for a comprehensive smile inspection. Use good lighting and take your time examining each tooth and bracket carefully. Look for any remaining food particles, plaque buildup, or areas that might need additional attention. Angle the mirror to view your teeth from multiple perspectives—front, side, and bottom views provide a complete assessment of your cleaning effectiveness.
During your inspection, pay special attention to areas around brackets and wires where debris commonly accumulates. Check the spaces between teeth and look for any white or discolored spots that might indicate early plaque formation. If you notice any persistent debris, use your interdental brush or water flosser for a quick touch-up. Remember, thorough inspection is your best defense against potential oral health issues during orthodontic treatment.
Consider keeping a small compact mirror and additional cleaning tools nearby for quick mid-day touch-ups. This proactive approach helps maintain oral hygiene between your comprehensive brushing sessions. Develop a routine of quick visual checks throughout the day, which can help you catch and address any cleaning challenges promptly.
Verification checklist for rinsing and smile inspection:
- Rinsed with fluoride mouthwash
- Inspected teeth from multiple angles
- Checked around each bracket and wire
- Confirmed no remaining food particles
- Noted any areas requiring additional cleaning
By treating this final step as more than a routine task, you transform your oral care into a mindful, proactive health practice that protects your smile and supports your orthodontic journey.
Personalized Orthodontic Support for Braces Care—From Home Routine to Office Expertise
Maintaining excellent oral hygiene with braces can be challenging. You already know how brushing and flossing are more complicated when brackets and wires create extra places for plaque and food to hide. Many patients worry about missing hidden spots, damaging their orthodontic appliances, or facing unwanted stains by the end of their treatment. That is why Glow Orthodontics is committed to supporting you not only with expert orthodontic care, but also with real-world guidance—helping you apply the step-by-step techniques from this article for cleaner teeth and a confident smile.

Ready to take your braces care further? Connect with our warm and knowledgeable team at Glow Orthodontics to ask specific questions about your brushing technique or to schedule a personalized consultation. Your healthy smile is our mission, and with professional orthodontic services available in Langley, you do not have to face these challenges alone.
Visit our website today and start your journey to a brighter, cleaner, and more comfortable braces experience.
Frequently Asked Questions
How often should I brush my teeth with braces?
You should brush your teeth at least twice a day, ideally after every meal, to remove food particles and plaque buildup around your braces.
What type of toothbrush is best for braces?
A soft-bristled toothbrush with a small head is recommended for brushing with braces. Look for orthodontic-specific brushes that can effectively navigate around brackets and wires.
Is it necessary to use a water flosser with braces?
While it is not mandatory, using a water flosser can be highly beneficial as it helps flush out food particles and plaque that may be difficult to reach with a toothbrush and traditional floss.
How do I clean between the brackets and teeth?
You can use floss threaders or interdental brushes to effectively clean between your brackets and teeth. These tools provide access to areas that regular brushing may miss, helping to prevent plaque buildup.